

Electronics Knowledge Hub
Electronics Knowledge Hub
Discover technical guides, educational assets, product specifications, software utilities and more with our comprehensive electronics knowledge hub.
Discover technical guides, educational assets, product specifications, software utilities and more with our comprehensive electronics knowledge hub.
Our Electronic Resources


Software Utilities
Electronic Handles
Universal Handles
Joystick & Joystick Bases
Control Electronics
Discontinued Products


Customer & Engineering Support
Not finding what you need? Our dedicated customer experience and engineering teams are available on demand to help with your electronic needs. We're here to support every step of the way.
Our Latest Educational Articles
For over 40 years, Bailey has been a trusted leader in the manufacturing and distribution of hydraulic and electronic solutions. Dive into our educational content to expand your knowledge and discover how our expertise can support your success.
A faulty hydraulic solenoid valve can cause an equipment function to become slow, intermittent, stuck, or completely unresponsive. Because the valve combines electrical actuation with hydraulic flow control, however, the problem is not always the solenoid valve itself. A damaged connector, incorrect voltage, contaminated hydraulic fluid, restricted pilot passage, or jammed spool can create similar symptoms.
Successful hydraulic solenoid valve replacement begins with diagnosis. Once you confirm the fault, you must identify whether the machine needs a new solenoid coil, valve cartridge, actuator assembly, or complete directional control valve. Then you can install the correct part, protect the hydraulic system from contamination, and test the repair carefully.
NOTE: Always follow the equipment manufacturer’s service manual, hydraulic schematic, safety procedures, and component-specific torque specifications.
What Is a Hydraulic Solenoid Valve?
A hydraulic solenoid valve is an electrically operated valve that controls hydraulic fluid flow or pressure. When voltage is applied to the solenoid coil, the coil creates a magnetic field. That field moves an armature or plunger, which shifts a valve element or spool.
Depending on the valve design, energizing the solenoid may:
- Start or stop hydraulic flow
- Change the direction of flow
- Extend or retract a hydraulic cylinder
- Start or stop a hydraulic motor
- Apply or release a brake
- Select between two hydraulic circuits
- Control a pilot signal or pump function
Some assemblies have a removable coil installed over a cartridge or actuator. Others require replacement of the coil and cartridge together. A manifold-mounted directional valve may need to be replaced as a complete assembly.
Signs of a Bad Solenoid Valve
Common symptoms of a faulty hydraulic solenoid valve include:
- A cylinder or hydraulic motor that does not move
- A function that works only intermittently
- Slow, weak, or delayed hydraulic operation
- A valve that remains stuck open or closed
- Unexpected actuator movement
- A solenoid that clicks but does not shift the valve
- No click or magnetic response when the coil is energized
- A blown fuse or tripped circuit protection
- An unusually hot, discolored, or burned solenoid coil
- Buzzing or humming from an AC solenoid
- Hydraulic fluid leaking around the cartridge or valve body
- A diagnostic fault code related to the valve circuit
These symptoms do not prove that the valve is defective. Parker identifies low or excessive voltage, damaged wiring, a tight mechanical component, restricted pilot flow, and contamination around the main spool as possible causes of solenoid-valve problems. Bailey similarly recommends checking the complete hydraulic system before replacing a valve.
Test the Solenoid Valve Before Replacing It
Begin solenoid valve troubleshooting with the equipment manual and wiring diagram. Never apply an improvised voltage directly to an unidentified coil.
Inspect the electrical circuit
Check the connector, wiring harness, ground, fuse, relay, switch, and controller output for corrosion, looseness, abrasion, heat damage, or broken conductors.
With the machine secured and the circuit tested under the conditions specified by the manufacturer, use a suitable multimeter to verify:
- Supply voltage at the connector
- Ground integrity
- Coil resistance
- Continuity through the harness
- Current draw, when the procedure requires it
Compare every reading with the manufacturer’s specification. Resistance varies substantially by coil design, voltage, temperature, and manufacturer, so there is no universal “good” resistance value.
A coil with an open circuit may show infinite resistance. A reading near zero can indicate a shorted winding, but the service specification remains the deciding standard.
Check for magnetic operation
Some technicians listen for a click or use a noncontact magnetic-field indicator while the installed solenoid is commanded on. A click shows that something moved; it does not prove that the hydraulic valve shifted fully or sealed correctly.
Do not energize a removed coil unless the manufacturer specifically permits it. On some designs, operating the coil without its armature or magnetic circuit can cause overheating or coil damage.
Use the manual override when provided
If the valve has a manual override, the equipment manual may allow it to be used to distinguish an electrical fault from a hydraulic or mechanical fault. If the function works with the manual override but not with the electrical command, investigate the coil, connector, wiring, controller, and power supply.
A function that still fails with the manual override may have a stuck cartridge, contaminated spool, hydraulic supply problem, blocked pilot passage, or downstream mechanical fault.
Use a manual override only when the surrounding area is clear and the procedure is authorized. Activating it can move an attachment immediately.
Decide What Actually Needs Replacement
Before ordering a replacement solenoid valve, determine which serviceable assembly has failed.
.png)
Never assume two valves are compatible because they look alike. Verify the complete model or part number, voltage, connector, electrical polarity requirements, coil duty rating, valve function, normal position, flow path, pressure and flow ratings, port or cavity specification, seal material, fluid compatibility, and mounting arrangement.
Bailey’s catalog, for example, includes solenoid-operated valves with different voltages, flow capacities, pressure ratings, spool arrangements, center conditions, and mounting formats. These differences can change how the equipment behaves when the valve is energized or returned to neutral.
Tools and Materials
The exact requirements depend on the machine and valve, but a typical hydraulic solenoid valve replacement may require:
- Equipment service manual and hydraulic schematic
- Correct replacement coil, cartridge, valve, and seals
- Safety glasses, gloves, and other required PPE
- Lockout/tagout equipment
- Multimeter rated for the circuit
- Correct sockets, wrenches, and torque wrench
- Clean drain pan
- Clean, properly sized hydraulic caps and plugs
- Lint-free wipes
- Manufacturer-approved cleaning fluid
- Correct hydraulic fluid
- Labels or tags for wires and hoses
Use only the seals supplied or specified for the replacement. An O-ring with the wrong dimensions or material may leak, swell, harden, or fail prematurely.
How to Replace a Faulty Solenoid Valve
Step 1: Make the equipment safe
Park on a stable surface, lower all attachments, support any component that could move, shut down the engine or power unit, and allow hot components to cool.
Disconnect or isolate electrical power and follow the applicable lockout/tagout procedure. Relieve stored hydraulic pressure using the manufacturer’s instructions, including safely discharging accumulators when required. Cycle controls only when the service procedure directs you to do so.
OSHA requires potentially hazardous stored or residual energy to be relieved, disconnected, restrained, or otherwise rendered safe before covered maintenance work begins. Hydraulic systems may require bleed valves or other machine-specific methods to remove trapped pressure.
Never loosen a hydraulic fitting to determine whether the system is depressurized. Never use your hand to find a leak. Pressurized hydraulic fluid can penetrate skin and requires immediate medical treatment.
Step 2: Locate and document the faulty valve
Use the service manual and hydraulic schematic to confirm the valve’s location and function. Equipment may have several identical-looking solenoids in one valve bank.
Before disconnecting anything:
- Photograph the valve, connector, wire routing, and hydraulic connections.
- Label each connector and hose.
- Record the complete valve and coil part numbers.
- Note the valve’s orientation and connector position.
- Confirm which solenoid was identified during diagnosis.
A machine-specific repair example may involve removing only two retaining bolts and pulling out the solenoid assembly, while another design requires a threaded cartridge, coil nut, or complete subplate-mounted valve. The correct service manual determines the procedure.
Step 3: Clean the work area
Thoroughly clean the valve exterior and the surrounding manifold or pump housing before opening the system. Dirt around the old component can fall directly into the hydraulic cavity during removal.
Place a clean drain pan below the valve. If hydraulic hoses or ports must be opened, cap or plug them immediately with clean hydraulic caps. Avoid tape, cloth, or improvised plugs that can introduce fibers or debris.
Step 4: Disconnect the electrical connector
Release the connector lock without pulling on the wires. Inspect both sides of the connector for:
- Bent, recessed, or broken terminals
- Moisture or hydraulic fluid intrusion
- Green or white corrosion
- Loose terminal fit
- Damaged seals
- Melted plastic or heat discoloration
Repair connector or wiring defects before installing the new solenoid. A poor connection or incorrect voltage can damage the replacement coil and recreate the original symptoms.
Step 5: Remove the old coil, cartridge, or valve
Follow the manufacturer’s sequence.
For a separately replaceable coil, this may involve removing a retaining nut or clip and sliding the coil off the actuator tube. For a screw-in cartridge, hold the appropriate component with the specified tool and unscrew the cartridge without side-loading the cavity. A manifold-mounted valve may use multiple bolts and interface seals.
Expect some fluid loss even after depressurization. Remove old O-rings and seals without scratching the cartridge, valve cavity, or sealing surface. Do not pry against precision surfaces unless the manufacturer explicitly authorizes a method.
Keep removed parts in order so you can compare them with the replacement.
Step 6: Inspect for the root cause
Look for contamination, metal particles, damaged seals, corrosion, varnish, burned wiring, a distorted actuator tube, scoring, or evidence that the valve was overtightened.
If metal debris is present, stop and investigate the broader hydraulic system. Replace filters and inspect the fluid, reservoir, pump, motors, and cylinders as appropriate. Installing a new hydraulic solenoid valve into a contaminated system can lead to another rapid failure.
Step 7: Compare and prepare the replacement
Place the old and new parts side by side. Confirm the part number and every compatibility item listed earlier.
Install new seals in their specified locations. Lubricate them only with the fluid or assembly lubricant approved by the manufacturer. Make sure an O-ring is not twisted, cut, or left in the bottom of the valve cavity.
Do not reuse a seal simply because it looks acceptable.
Step 8: Install the new solenoid valve
Insert the cartridge or valve squarely. Start threaded parts by hand to avoid cross-threading. Tighten the cartridge, coil nut, retaining hardware, or manifold bolts to the exact torque and sequence in the service documentation.
Do not copy a torque value from another valve model.
Reconnect the electrical connector and confirm that its lock is fully engaged. Route the wiring away from heat, sharp edges, pinch points, and moving parts.
Step 9: Refill and inspect the hydraulic system
If fluid was drained, refill the reservoir with the manufacturer-specified hydraulic oil. Replace or service the filter when required. Bleed or purge trapped air using the approved procedure.
Check that tools, caps, plugs, and loose parts have been removed. Make sure all controls are in neutral and everyone is clear before restoring power.
Step 10: Test the repair
Start the equipment at low speed and without a load when the manufacturer permits. Command the repaired function briefly and verify:
- Correct direction of movement
- Normal response time
- Full return to neutral
- No fault codes, blown fuses, or overheated wiring
- No unusual buzzing, chatter, or repeated clicking
- No external hydraulic leaks
- Stable hydraulic pressure and temperature
Use cardboard, wood, or an approved leak-detection method rather than your hands. Gradually test the equipment under normal load only after the initial inspection is satisfactory. Stop immediately if the actuator moves unexpectedly, the valve sticks, a leak appears, or the system overheats.
Common Solenoid Valve Replacement Mistakes
Avoid these frequent causes of failed repairs:
- Replacing the valve without testing the wiring and voltage
- Confusing a bad coil with a stuck hydraulic cartridge
- Installing the wrong voltage or connector type
- Matching only the physical size instead of the complete model code
- Reusing damaged O-rings
- Allowing dirt to enter an open valve cavity
- Applying generic torque values
- Energizing an unsupported or disassembled coil
- Reconnecting the wrong solenoid in a multi-valve bank
- Ignoring contaminated oil or metal in the filter
- Returning the machine immediately to full-load service
Frequently Asked Questions
Can I replace only the solenoid coil?
Yes, when the manufacturer identifies the coil as a separately serviceable component and diagnosis confirms that the cartridge or valve still operates correctly. Match the voltage, duty rating, connector, dimensions, and manufacturer part number.
Why does the new solenoid valve still not work?
Possible causes include missing or low voltage, a poor ground, damaged wiring, an incorrect coil, a blocked pilot passage, trapped pressure, a jammed spool, insufficient hydraulic supply, incorrect installation, or a controller fault. Repeat the diagnostic process instead of assuming the new valve is defective.
Can a solenoid click and still be bad?
Yes. A click means the electromagnetic assembly produced some movement. It does not confirm full spool travel, correct hydraulic flow, adequate force under pressure, or proper sealing.
Should I repair or replace a leaking solenoid valve?
A replaceable O-ring or seal may correct an external leak when the cartridge and cavity remain undamaged. Replace the cartridge or complete valve if sealing surfaces are scored, the body is cracked, or the manufacturer does not authorize field repair.
When should I call a hydraulic technician?
Seek qualified support if you cannot positively identify the valve, safely isolate stored energy, verify the electrical circuit, interpret the hydraulic schematic, find metal contamination, or test the repaired equipment without exposing anyone to hazardous movement or pressure.
A Reliable Repair Starts With the Right Diagnosis
Learning how to replace a faulty solenoid valve involves more than disconnecting a wire and installing a new component. First determine whether the failure is electrical, mechanical, or hydraulic. Then verify compatibility, control contamination, use the specified seals and torque values, and test the system gradually.
For help identifying a compatible hydraulic solenoid valve, explore Bailey’s solenoid valve selection or contact Bailey International for application-specific guidance.
.png)
How to Replace a Faulty Hydraulic Solenoid Valve
A leaking hydraulic cylinder does not always mean the entire cylinder needs to be replaced. If the rod, barrel, piston, and other major components remain in good condition, replacing the worn seals may restore reliable operation and extend the cylinder’s service life.
The process, though, is not identical for every cylinder. The correct disassembly sequence, seal arrangement, and reassembly method depend on the cylinder’s design. That is why seeing the repair performed can be much more useful than trying to follow written instructions alone.
Bailey’s hydraulic cylinder seal replacement video series provides step-by-step demonstrations for several common cylinder styles, helping you see how each assembly comes apart and how the new seals should be installed.
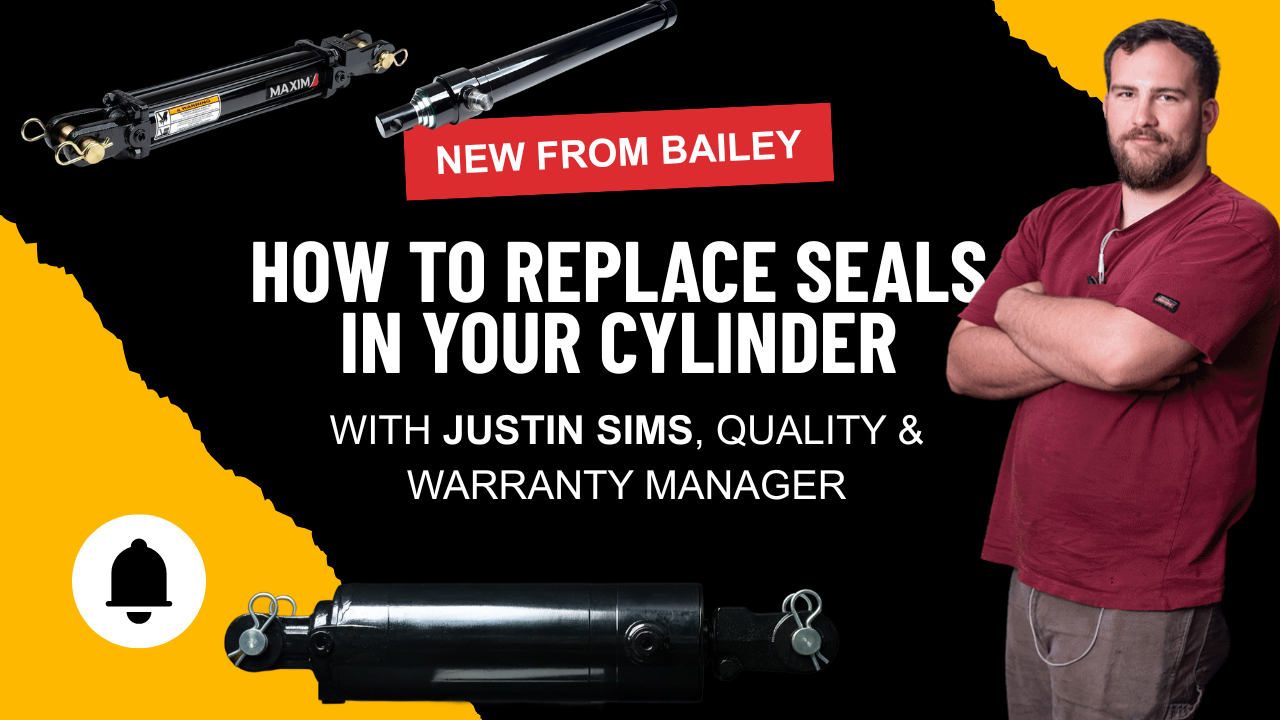
When Should You Replace Hydraulic Cylinder Seals?
External leakage around the cylinder rod is the most obvious sign of seal wear, but other symptoms may include:
- Cylinder drift
- Weak or inconsistent movement
- Reduced ability to hold a load
- Jerky operation
- Recurring loss of hydraulic fluid
- Visible deterioration around the rod wiper
Make Sure the Cylinder Is Rebuildable
New seals cannot compensate for damaged metal surfaces.
Before completing the repair, inspect the cylinder rod, barrel, gland, and piston for:
- Deep scoring
- Pitting or corrosion
- A bent rod
- Damaged threads
- Excessive wear
- Cracked or distorted components
A damaged rod or bore can quickly destroy the replacement seals. Depending on the severity of the damage, the cylinder may require professional repair or complete replacement.
Start with the Correct Seal Kit
Two cylinders with similar dimensions may still use different seal profiles, materials, or internal arrangements. Whenever possible, use the cylinder’s complete model or part number to identify the correct replacement kit.
Before removing the old seals, take photographs of their locations and orientation. Many hydraulic seals are directional, meaning they must face a specific way to contain pressure properly. Installing one backward can cause the cylinder to leak or perform poorly immediately after the rebuild.
Remember, Bailey offers a broad selection of hydraulic cylinder seals and seal kits for common Chief, Maxim, and other cylinder designs.
What Does the Seal Replacement Process Involve?
Although the exact procedure varies, most cylinder re-sealing projects include the same general stages:
- Clean the cylinder before opening it.
- Remove the gland and rod assembly.
- Disassemble the piston, gland, and related components.
- Remove and document the old seals.
- Inspect the rod, bore, piston, and gland for damage.
- Install the new seals in the correct locations and orientation.
- Reassemble and reinstall the cylinder.
- Cycle and test the cylinder gradually.
Each of these steps contains details that are easier to understand visually. For a closer look at the process, watch Bailey’s complete How to Change Hydraulic Cylinder Seals video series.
Safety and Cleanliness Matter
Hydraulic systems may retain dangerous pressure after the equipment is shut down. Before disconnecting a cylinder, lower all attachments, isolate the power source, relieve trapped pressure, and follow the equipment manufacturer’s lockout/tagout procedures.
Never work beneath a load supported only by hydraulics, and never use your hand to search for a pressurized leak. Hydraulic fluid injected beneath the skin is a medical emergency.
Cleanliness is equally important. Dirt entering an open cylinder can damage new seals and other components as soon as the equipment returns to operation. Clean the outside of the cylinder before disassembly, cap open hoses and ports, and perform the rebuild in a clean work area.
Do Not Ignore Why the Seals Failed
Seals eventually wear, but premature failure usually has an underlying cause.
Common contributors include:
- Contaminated hydraulic fluid
- Excessive heat
- Pressure spikes
- Side loading or misalignment
- A damaged cylinder rod
- Incorrect seal installation
- Incompatible fluid or seal material
- Operation beyond the cylinder’s rated limits
Pay attention to the condition of the old seals during disassembly. Cuts, embedded particles, hardening, uneven wear, or extrusion damage can help identify what went wrong.
Watch the Complete Seal Replacement Process
Written instructions can explain the sequence, but they cannot always show the subtle details that make the difference between a reliable rebuild and a damaged new seal.
Visit Bailey’s hydraulic cylinder seal replacement playlist for practical, step-by-step demonstrations covering common cylinder designs.
Need help finding the right components for your repair? Browse Bailey’s hydraulic cylinder seals and seal kits or contact the Bailey team for assistance identifying the correct kit for your cylinder.
How to Change the Seals in Your Hydraulic Cylinder
Hydraulic hose routing may look like a minor installation detail. As long as the hose reaches from one connection point to another without leaking, it is easy to assume the job is finished.
But “connected” does not necessarily mean “correctly installed.”
A hose can be the right size, pressure rating, and material for an application, and still fail prematurely because of how it is routed. Excessive bending, twisting, abrasion, heat, poor support, and machine movement can gradually weaken the hose assembly until it begins leaking.
That makes hose routing more than a matter of keeping an installation neat. It directly affects equipment reliability, maintenance costs, operator safety, and hydraulic system performance.
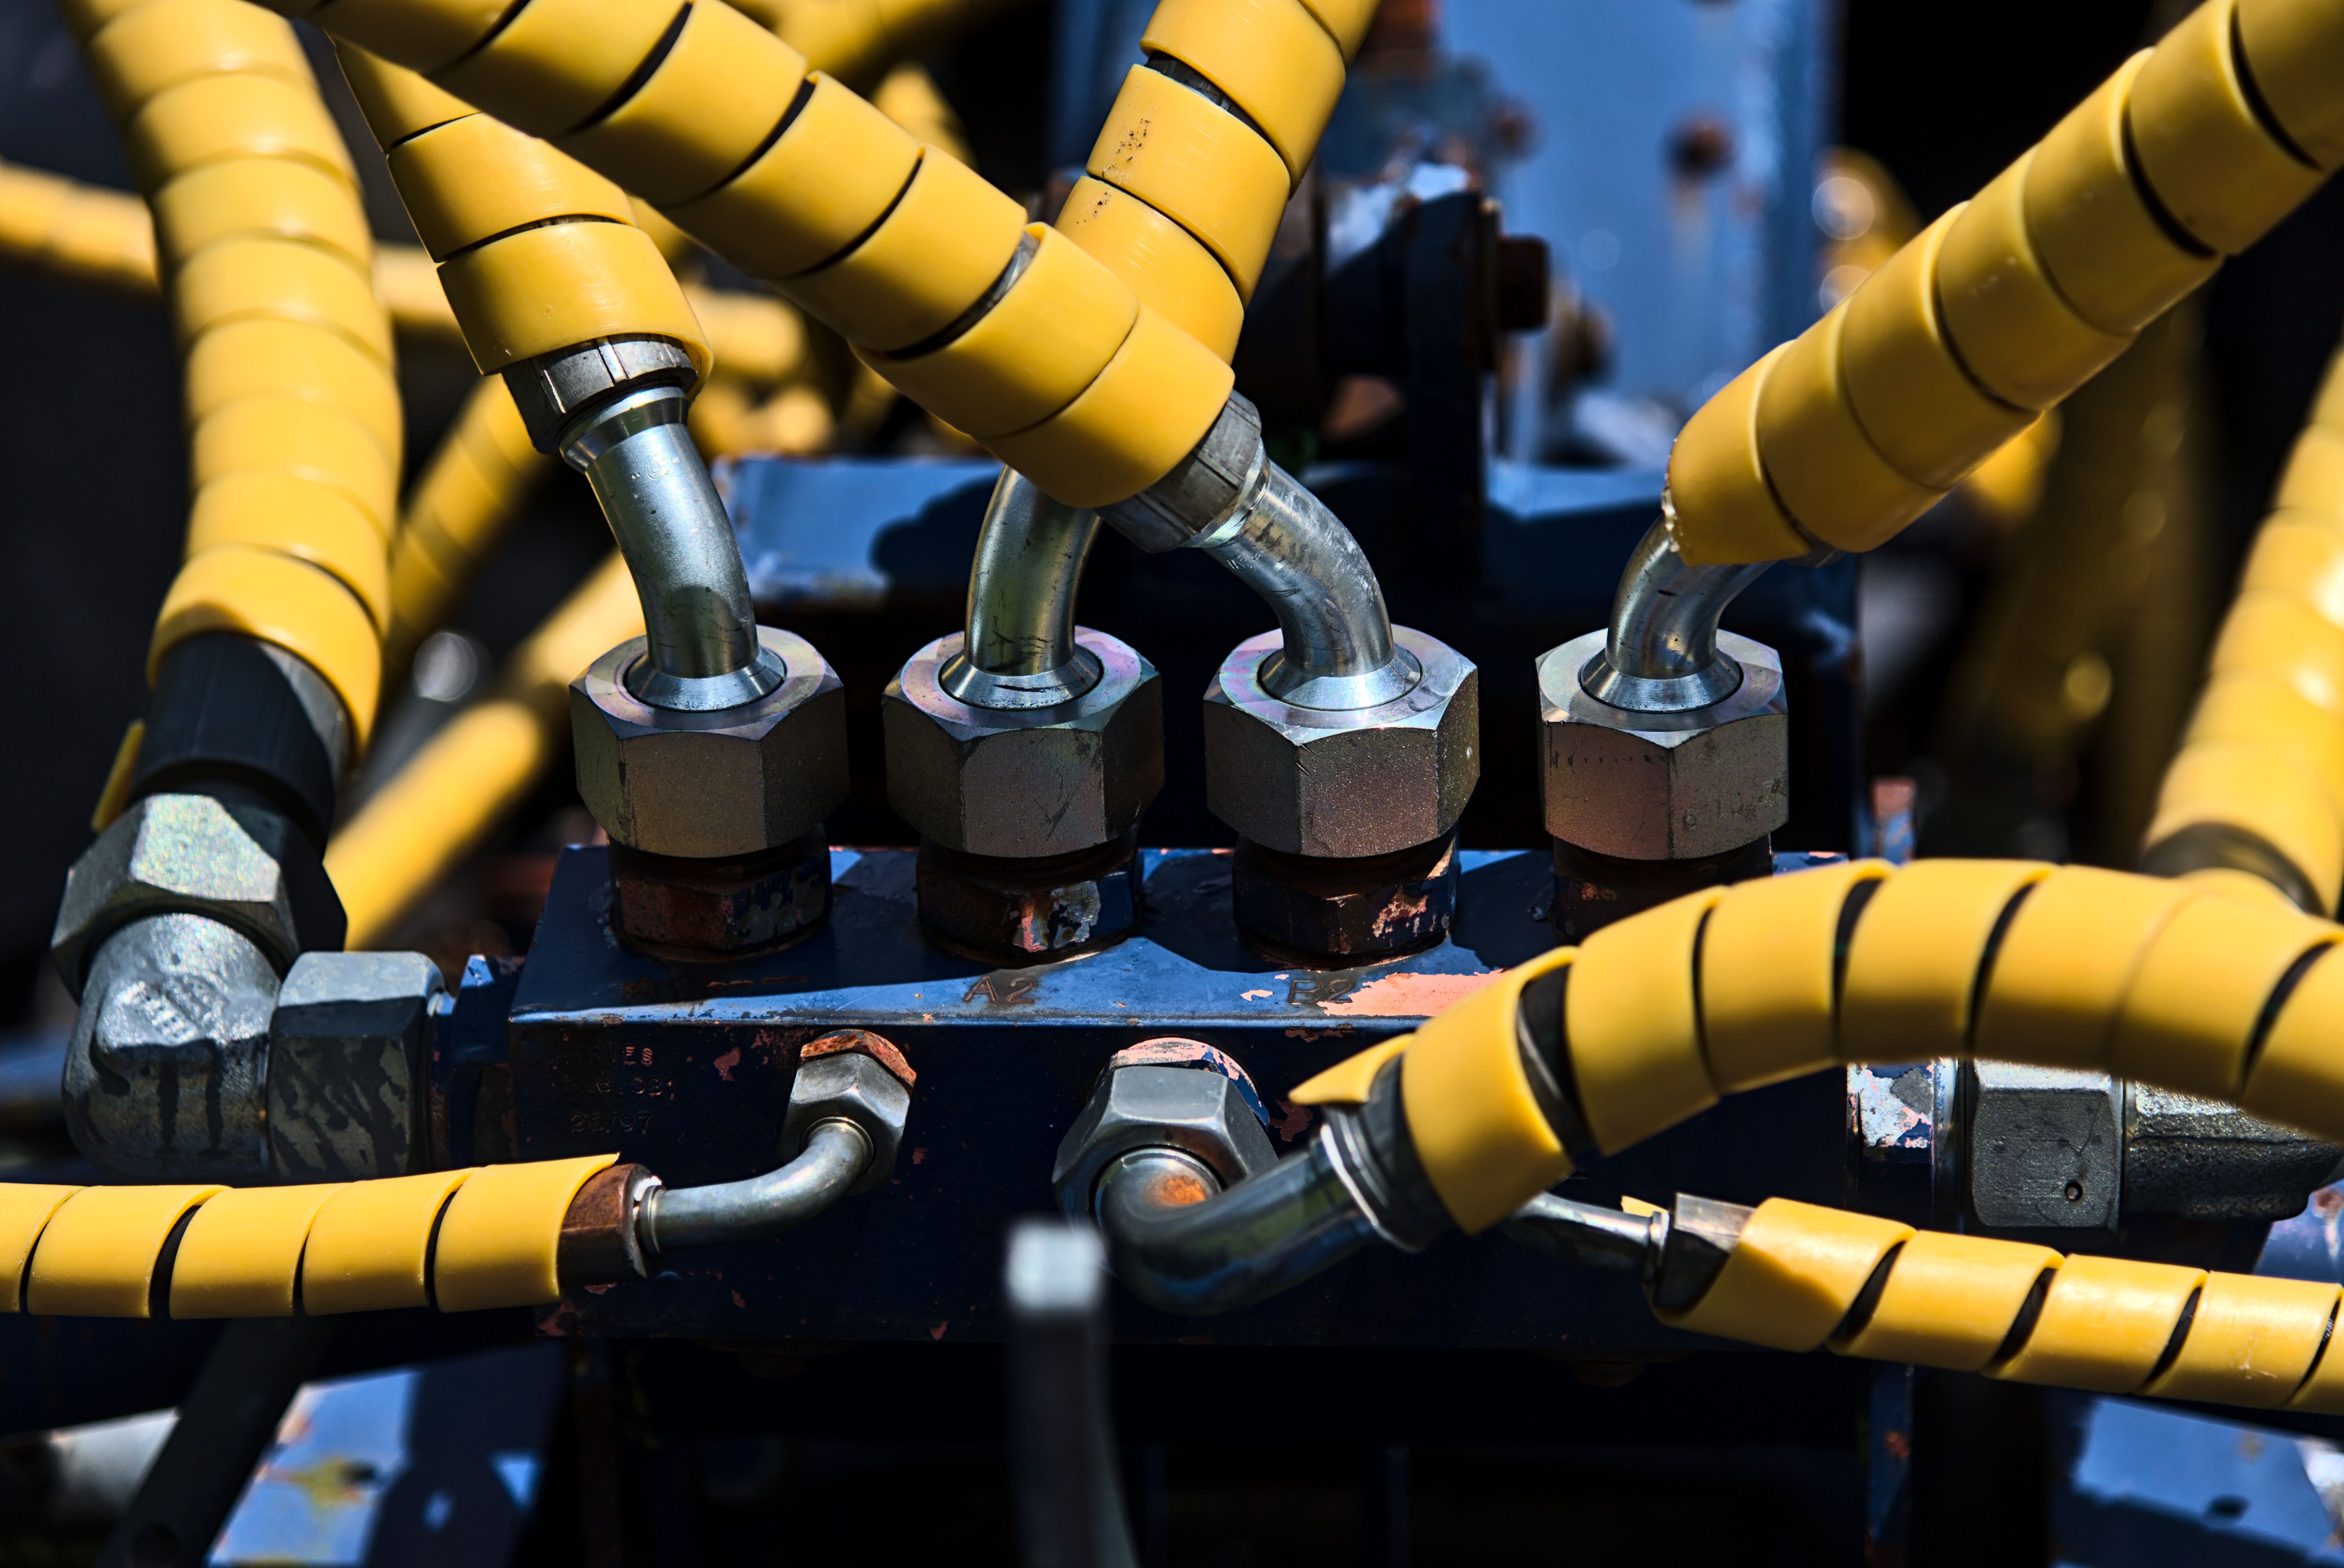
Here are 10 common routing mistakes that can significantly shorten hydraulic hose life.
1. Installing a Hose That Is Too Short
A hydraulic hose should never be pulled tight between two connection points.
When a hydraulic system is pressurized, the hose may change slightly in length and diameter. Equipment vibration and component movement place additional demands on the assembly. If the hose is already stretched tight, these forces are transferred directly to the fittings and hose reinforcement.
Over time, this can cause fitting separation, connection leakage, reinforcement fatigue, and other issues.
A properly routed hose should include enough slack to accommodate pressure changes, vibration, and movement without becoming fully extended. On a straight run, a slight bend is generally preferable to a hose pulled taut.
However, more hose is not always better. Excessive slack can create loops that snag, rub against nearby components, or enter a pinch point. Additionally excess hose bending creates unneccesary internal friction and heat. The goal is controlled flexibility.
2. Exceeding the Minimum Bend Radius
Every hydraulic hose has a minimum bend radius specified by its manufacturer. This is the smallest radius at which the hose can bend without damaging its internal structure or restricting flow.
Forcing a hose into a tighter bend can distort the tube, shift the reinforcement, and concentrate stress along the inside and outside of the curve. In extreme cases, the hose may kink or partially collapse, restricting hydraulic flow and reducing downstream pressure and increasing upstream pressure.
Improperly installed hose may still function after installation, but its service life can be significantly reduced.
Minimum bend radius should be treated as a limit, not an ideal target. Whenever space allows, use a more gradual curve. If the available routing space cannot accommodate the required bend, an angled fitting or adapter may be a better solution than forcing the hose into position.
Always consult the specifications for the exact hose being installed. Bend-radius requirements vary by hose construction, diameter, and manufacturer.
3. Starting the Bend Too Close to the Fitting
Even when the overall bend radius appears acceptable, a hose can still be damaged if the bend begins immediately behind the coupling.
The section where the hose enters the fitting is already subject to concentrated mechanical stress. Bending sharply at this point adds leverage and repeated flexing to one of the most vulnerable areas of the assembly.
Allow a short, straight section of hose after the fitting, before the bend begins. If the routing direction must change immediately after the port, use an appropriate elbow or angled fitting.
The fitting should help direct the hose into its natural route. The hose should not be forced to compensate for a poorly oriented connection.
4. Twisting the Hose During Installation
Hydraulic hose is designed to bend. It is not designed to operate under continuous torsional stress.
Twisting may happen when one end of the hose rotates during tightening, when the fittings are incorrectly oriented, or when a straight fitting is used where an angled connection is needed. The twist may be difficult to see once the assembly is installed.
Under pressure, however, the hose attempts to return to its natural position. This places uneven stress on the reinforcement layers and can cause the hose to move, buckle, or fatigue during repeated pressure cycles.
A useful installation check is to look at the printed information running along the hose cover, often called a "layline." The layline should remain straight rather than spiraling around the assembly.
When tightening a connection, hold the hose or mating fitting as required to prevent rotation. If the hose cannot reach the port without twisting, stop and correct the routing or fitting orientation.
5. Allowing the Hose to Rub Against Other Surfaces
Abrasion is one of the most common causes of hydraulic hose damage.
A hose does not need to move very far to wear through its outer cover. Small, repeated movements caused by equipment vibration can make the hose rub against metal brackets and frame rails.
Once the cover is worn away, the reinforcement becomes exposed to moisture, corrosion, and physical damage. The hose’s ability to contain pressure may deteriorate even when the assembly has not yet started leaking.
The best solution is to eliminate contact through better routing and support. When contact cannot be avoided, use appropriate protective measures such as abrasion-resistant sleeving, spiral guards, clamps, grommets, or edge protection.
Protection should not be used to justify a fundamentally poor route. A sleeve can slow wear, but it cannot make an uncontrolled rubbing point harmless.
6. Using Too Few Clamps
Clamps help control hose movement, reduce vibration, and prevent contact with nearby components. Without sufficient support, a hose can whip, sag, rub, or be pulled into moving machinery.
By the same token, incorrect clamping can create a different set of problems.
A clamp that is too tight may restrict natural hose movement, crush the cover, or create a concentrated stress point. A clamp positioned directly at a bend may prevent the hose from flexing naturally. Sharp-edged or improperly sized clamps can also cut into the cover.
Use clamps designed for hydraulic hose and position them on relatively straight sections whenever possible. They should secure and guide the hose without flattening it or locking every part of the assembly rigidly in place.
Avoid clamping high- and low-pressure hoses tightly together. Different hoses may change length or move differently during operation, creating friction between their covers.
Good support controls movement. It does not eliminate the small amount of movement a flexible hose needs to absorb pressure changes and vibration.
7. Routing Too Close to Heat Sources
High operating temperatures accelerate hose degradation. Routing a hose near an exhaust system, engine component, hot manifold, furnace, or other heat source can harden the cover, weaken the tube, and reduce flexibility.
Heat exposure is not limited to direct contact. Radiant heat can damage a hose even when there is an air gap between the hose and the hot surface.
Whenever possible, increase the distance between the hose and the heat source. If rerouting is not practical, use a suitable heat shield, barrier, or protective sleeve rated for the application.
Also consider the temperature of the hydraulic fluid itself. A hose exposed to both high fluid temperatures internally and radiant heat externally can deteriorate much faster than expected.
8. Ignoring the Machine’s Full Range of Motion
A hose may look perfectly routed while the equipment is stationary and still be completely wrong once the machine begins moving.
Cylinders extend and retract. Booms raise, lower, and pivot. Steering systems articulate. Attachments rotate. Suspensions travel. Each movement changes the distance and angle between hose connection points.
If routing is evaluated in only one position, the hose may become overly stretched, form a tight bend at full retraction, or enter a pinch point.
Before an installation is approved, slowly cycle the machine through its complete operating range under controlled conditions.
The hose should move in a predictable path without becoming tight, twisted, crushed, kinked, or exposed to damaging contact.
(This step is especially important on mobile equipment, where the hose route may change continuously during operation.)
9. Forcing the Hose to Compensate for Poor Fitting Selection
Routing problems are not always solved by changing the hose. Sometimes the real problem is the connection geometry.
If a port faces the wrong direction or sits in a confined area, forcing a straight hose end into the connection can create an immediate sharp bend or side load. Adding extra hose length may only produce a larger, less controlled loop.
Angled fittings, elbows, swivel connections, and adapters can help. However, adapters should be used deliberately. Every additional connection introduces another potential leak point and may affect space, flow, and maintenance access.
The objective is not to use the fewest fittings at any cost. It is to create a route that protects the hose and connections without adding unnecessary complexity.
10. Treating Routing as a One-Time Installation Decision
Even a well-routed hose requires inspection.
Clamps can loosen, protective sleeves can wear through, and components may shift. Replacement parts may be installed differently. Operators may add attachments or make field modifications that change how the hose moves.
Unfortunately, hose condition is often evaluated only after a leak appears. By then, the assembly may already be unsafe.
Routine inspections should look for:
- Abrasion or exposed reinforcement
- Cracks, cuts, blisters, or bulges
- Oil seepage
- Kinks or flattened areas
- Loose or damaged clamps
- Corrosion at fittings
- Hose movement near pinch points
- Hardening or heat damage
- Twisting or fitting misalignment
- Changes in the hose’s normal position
Routing should also support maintenance. Hoses need to be visible and accessible enough to inspect and replace safely. A route that hides wear points or requires major disassembly for routine service may later create maintenance problems.
A quick note here – never use your hand to search for a hydraulic leak. High-pressure fluid can penetrate the skin and cause a serious medical emergency. Shut down the equipment, relieve stored hydraulic pressure, and follow the equipment manufacturer’s lockout and service procedures before inspecting or replacing a hose.
Good Hose Routing Protects the Entire System
A hydraulic hose is flexible, but that does not mean it can tolerate every possible route.
Any tight bend, twist, rubbing point, unsupported span, and heat source adds stress. One mistake may not cause immediate failure, which is exactly why routing problems are easy to overlook. The equipment may operate normally for days, weeks, or months while the hose gradually weakens.
Then the failure appears suddenly.
Effective hose routing requires looking beyond whether the assembly reaches its ports. Ask:
- Can the hose move naturally as pressure changes?
- Does it remain protected through the machine’s full operating range?
- Are the bends gradual and away from the fittings?
- Is the hose supported without being crushed or restricted?
- Can maintenance personnel inspect it easily?
A few additional minutes spent evaluating routing during installation can prevent unplanned downtime, hydraulic fluid loss, equipment damage, and safety hazards later.
When selecting or replacing hydraulic components, consider how every part of the system will operate together. Bailey’s hydraulic specialists can help identify components that fit the pressure, flow, movement, and operating conditions of your application.
.png)
Hydraulic Hose Routing Best Practices: 10 Mistakes That Lead to Premature Failure
Designing Joysticks for Comfort, Flexibility & Durability
The number one cause of workplace injury is overexertion. This can happen while an employee is lifting, pushing, pulling, holding, carrying or throwing objects. These injuries have proven to be costly to businesses across the country, totaling $13.7 billion dollars over the past several years.
By using ergonomic equipment, employers are not only prioritizing their employees’ comfort and preventing injuries, but they are also increasing efficiency by reducing downtime and keeping operators on the job.
Learn about some of the key considerations and science behind designing a joystick for maximum operator comfort, configurability, and durability:
Anthropometrics, ● Faceplate, ● Right and left handles, ● Configurability, ● Durability, ● Ease-of-use